| Most viewed - Image Gallery |

labyrinths.gif2347 viewsThe nine labyrinths: Eagle, Moon, Manji, Snake, Lizard, Dragon, Demon, Lion, and Death Mountain.
|
|
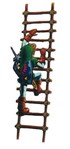
linkclimb.jpg2346 viewsLink climbing a ladder.
|
|

linksword.jpg2344 viewsLink holding the double-bladed sword.
|
|
|

s-ganons-tower.jpgGanon's Tower2343 viewsSources: Image from the Official Link to the Past Nintendo Player's Guide. Scanned and Edited by Melora. Notes: Ganon's Tower on Death Mountain in the Dark World. It is in the same place as the Tower of Hera in the Light World.Melora
|
|

s-bridge.jpgBridge2342 viewsSources: Image from the Official Link to the Past Nintendo Player's Guide. Scanned and Edited by Melora. Notes: A bridge on Death Mountain.Melora
|
|

z3manual-41-42.jpg2342 views
|
|
|

biri.jpg2340 viewsA small electrified jellyfish.
|
|
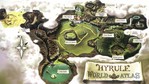
map1.jpg2340 viewsLarge map of Hyrule, scanned from Prima guide.
|
|
|

linkbeamsword.jpg2339 viewsLink shooting a beam from his sword.
|
|
|
|
|
|
|

triforce.jpgTriforce at Rest2335 viewsSources: Image from the Official Link to the Past Nintendo Player's Guide. Scanned and Edited by Melora. The Illustrator was possibly Katsuya Terada. Notes: The Triforce at rest.Melora
|
|
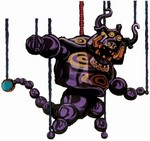
puppetganon.jpg2334 viewsPuppet Ganon.
|
|

zelda13.jpg2334 views
|
|
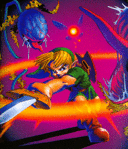
linkfight2.gif2332 viewsZoom-in on above image.
|
|

z1logo2.gif2330 viewsAnother Zelda 1 logo (from the manual).
|
|
|
|
|
| 9770 files on 408 page(s) |
 |
|
|
|
|
|
|
43 | |
|
|
|
|
|
 Register